Functions in Advanced Mode
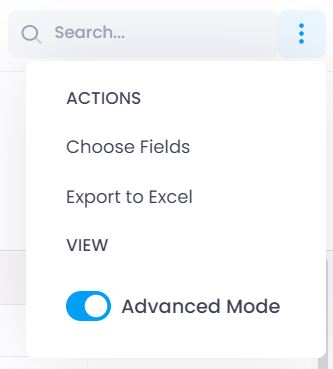
When you switch to Advanced Mode, you can create and manage address books, as well as switch the view from card view to table view.
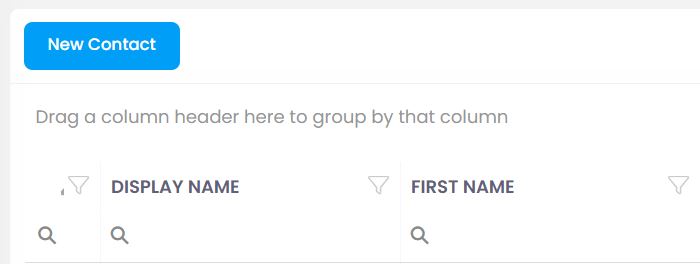
Working in the Table View
Your contacts are displayed in a table view by default. In the table view — similar to an Office list — you can show and hide columns, sort and filter column contents, and group the entire view by one or more columns. You can save compiled views as a template.
Showing and Hiding Columns, Grouping, and Filtering
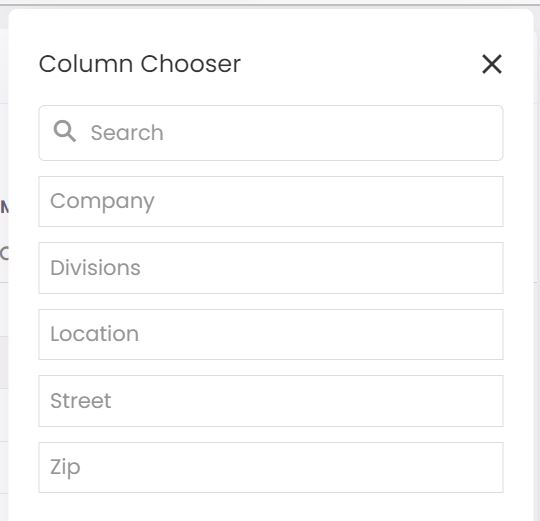
In the upper-right corner, click the button with three vertically arranged dots and then click Select Columns to show the Columns menu.
To add a column to the view, click the column in the menu and drag it to the desired location in the table.
To remove a column from the view, show the Columns menu and drag the column you want to remove from the table back to the menu.
The columns can be moved individually in the view so that you can compose a layout that suits you.
Grouping
Drag the column you want to group by into the area above the table on the left. You can also group by multiple columns. Within this grouping, you can filter and sort in ascending or descending order.
Filtering
To display the filter options in individual columns, click the funnel icon. Then click the magnifying glass in the respective column and select the filter criterion.