Time Tracking
Time tracking of tasks
You have several options for tracking time on tasks:
1. Use the stopwatch in the task overview:
-
You don't need to open a task to start the stopwatch. In the side panel, there is a play button next to each task in the list. Use it to start and pause time tracking at any time.

-
To book the recorded time to a project, open the task and confirm the time entry by clicking the checkmark next to the stopwatch.
2. Use the stopwatch within a task:
- Open the task and start time tracking by clicking the play button on the stopwatch.
- The stopwatch can be paused and restarted at any time.
- Confirm the time entry by clicking the checkmark next to the stopwatch.
3. Create a time entry manually:
- Open the relevant task by clicking on it.
- Select Track time for this task by clicking the corresponding blue text link.
- A window opens with the newly created time entry, which you can adjust as needed.
Time tracking of Outlook elements
In the InLoox for Outlook add-in, switch to the Time tab to track time from emails and calendar appointments.
Track time from emails
- Switch to the Time tab in the InLoox for Outlook add-in.
- In the side panel, select the project you want to track the email time against.
- In Outlook, select the email you want to track time for.
- Under A: Track time from email, click the blue checkmark button next to the selected email to create the time entry.
By default, the email subject is used for the time entry. Via the three-dot menu, you can enable the slider to include the email body. You can also choose whether a category should be applied to tracked emails.

- The time entry opens, and you can enter details such as duration.
- Done — the time has been tracked.
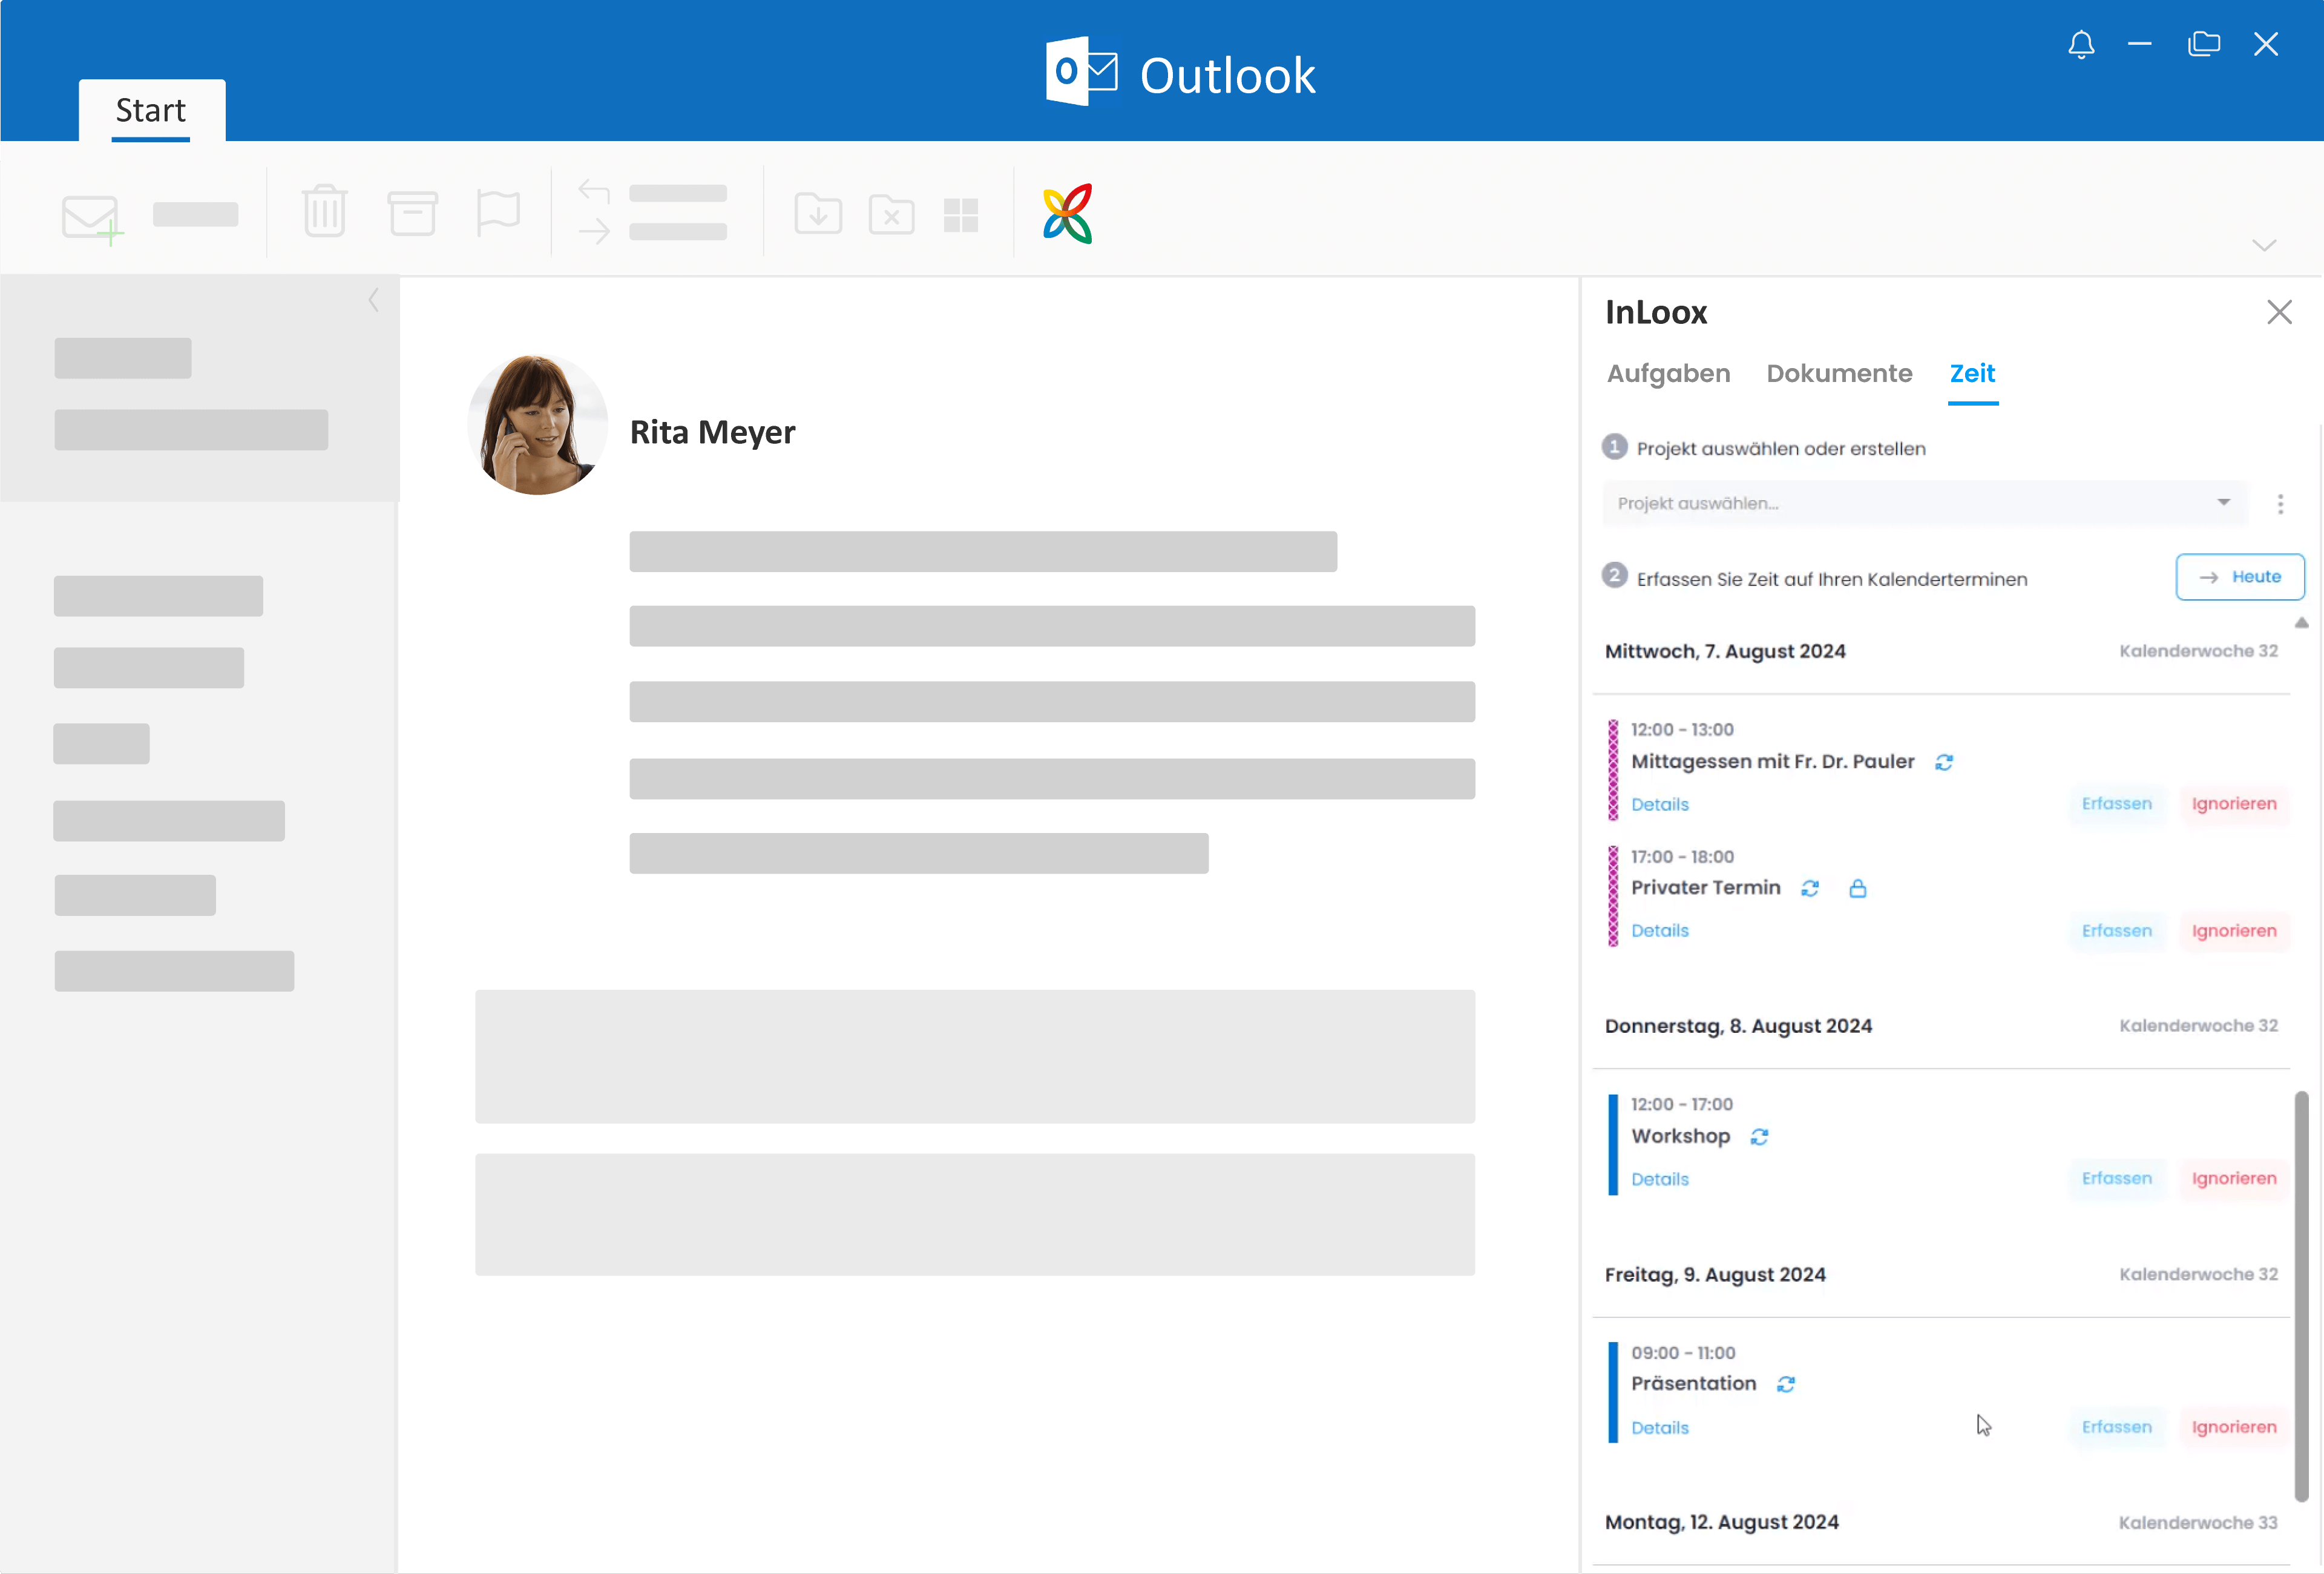
Track time from calendar appointments
-
Switch to the Time tab in the InLoox for Outlook add-in.
-
In the side panel, select the project you want to track time against.
-
Under B: Track time from appointment, you can view your Outlook calendar appointments, scroll through your calendar, open appointment details, or join online meetings directly.
PrerequisitesYou need to grant the Calendar Read permission to see your Outlook calendar appointments.
-
Click the Track button next to an appointment to create a time entry. You can adjust the details such as the duration if needed.
-
Done — the time has been booked and the calendar entry is marked as Tracked.
Tips
- Private appointments or appointments that should not be billed can be ignored. Simply click the Ignore button next to the relevant appointment.
- Click the three-dot menu next to the project selection to configure general settings:
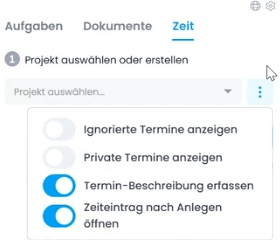
- Show ignored appointments
- Show private appointments
- Include appointment body (defines whether the full appointment description is included in the time entry)
- Open time entry when tracked