Account Setup
This guide walks you through setting up your InLoox account — from registration to inviting your team and configuring permissions.
Create an InLoox Account
If you have already created an InLoox trial account, skip steps 1–5 and proceed to step 6.
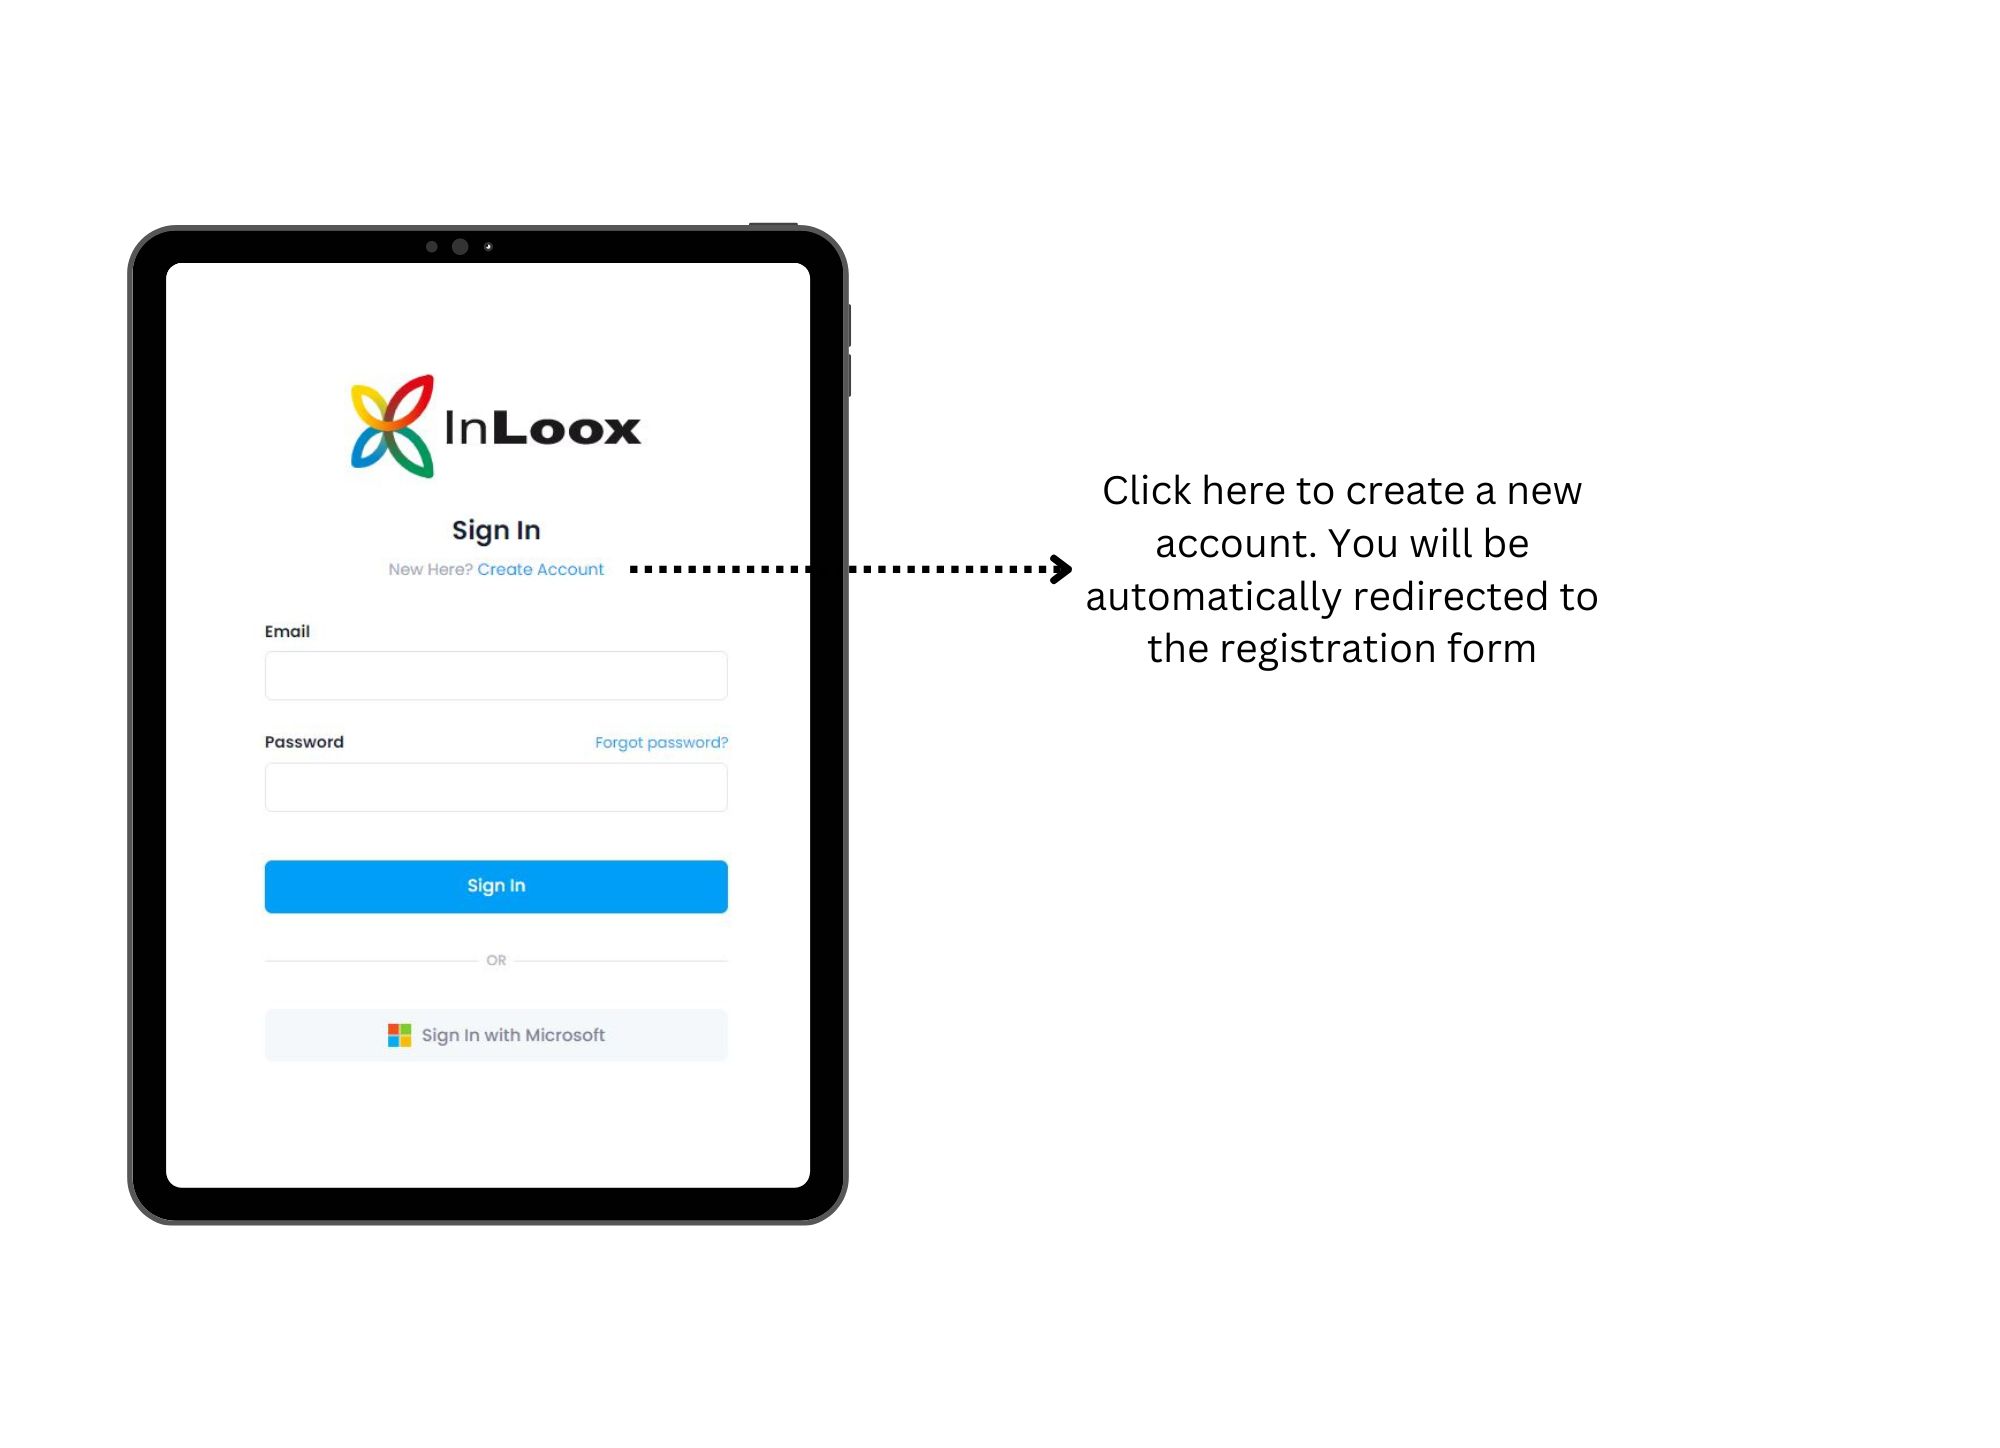
- Open login.inloox.com in your browser. Make sure you are using a current browser version.
- Click Create Account. Enter your first name, last name, and email address. Choose a password with at least 8 characters including letters, numbers, and special characters.
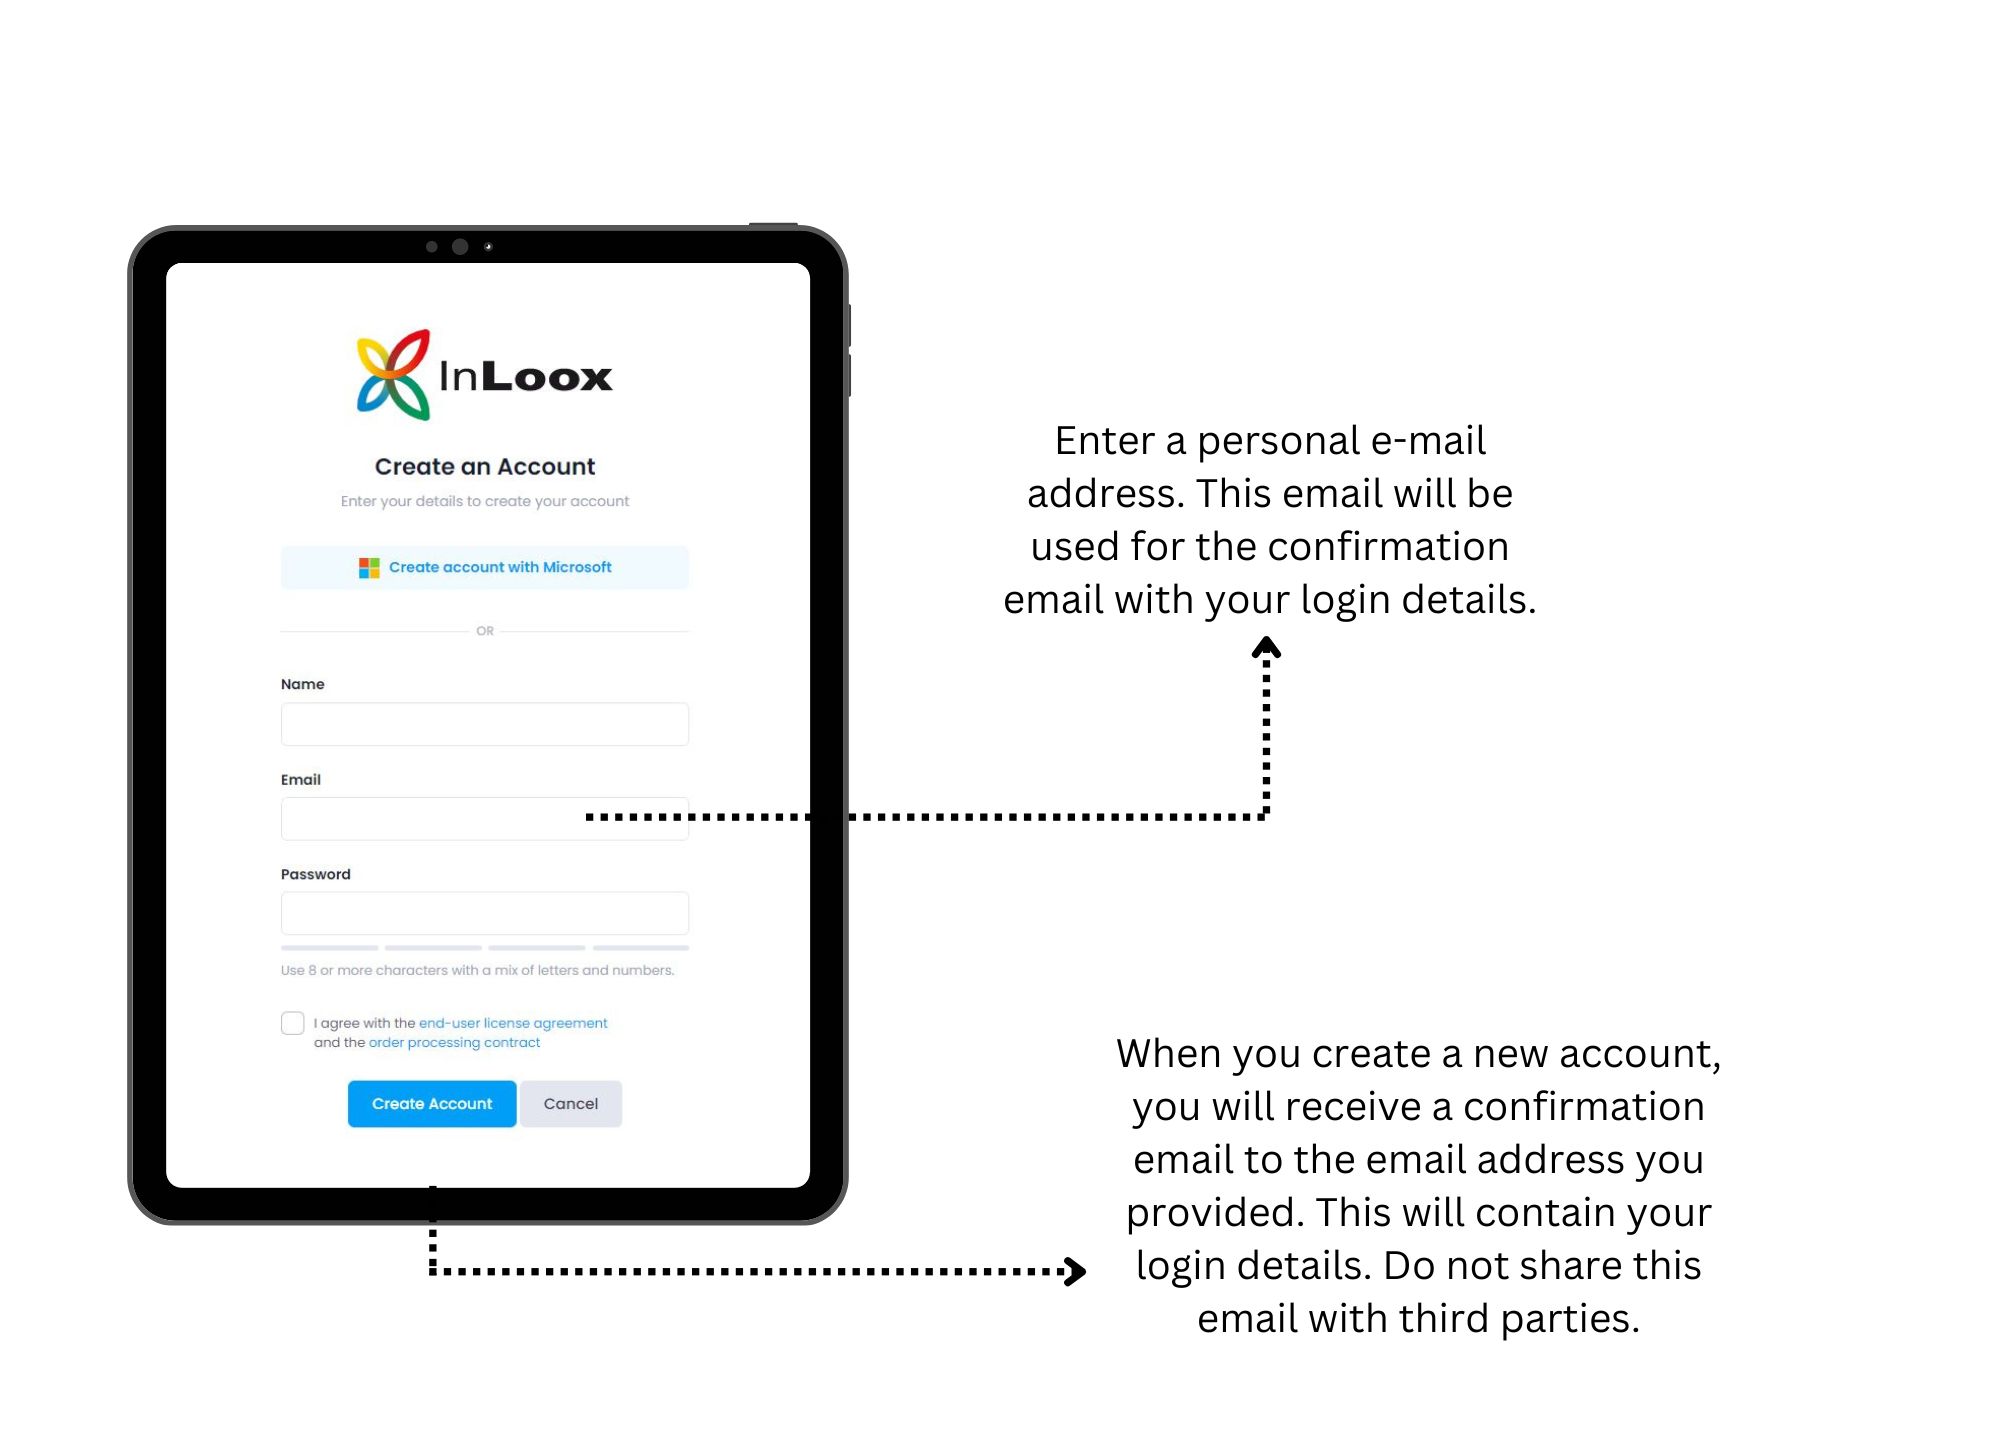
- Accept the terms and conditions and privacy policy.
- Click Create Account.
- You are redirected to InLoox Web App at app.inloox.com where you can invite your team.
You will receive a confirmation email with your login data immediately. Never share this email with third parties!
- Click the activation link in the confirmation email to unlock all features.
- To verify activation, click your profile picture in the upper-right corner > My Profile. Under Profile Details, it should say VERIFIED next to your email address.
The person who creates the InLoox account automatically receives all administrator permissions. You can change these in the settings.
Invite Your Team to InLoox
You need administrator permissions to invite people, or your admin must have activated Allow users to invite people to this account.
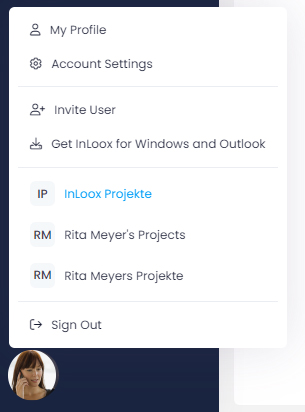
- Click your profile picture in the upper-right corner.
- Click Invite User.
- Select the basic permissions for this person:
- Inherited by role (recommended) — Permissions based on project role. Cannot change account settings.
- Read all projects — Full read access to all projects but cannot change account settings.
- Full permissions — Administrator rights. Can read/edit everything and change all settings.
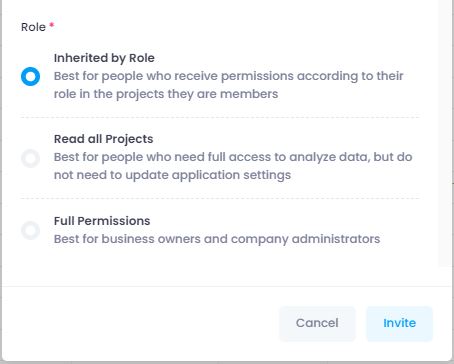
- Click Invite. The invited person receives an email with a link.
Always appoint two people as InLoox administrators to ensure availability when settings need to be changed.
Assign User Licenses
After inviting someone, assign a user license in the settings.
- Click your profile picture > Account Settings.
- Click User Management.
- Change access from Read-Only to Read & Write.
Set Permissions
Configure three types of permissions: user-based, role-based, and division-based.
If you've never set InLoox permissions before, read the InLoox Permissions help article first.
- Click your profile picture > Account Settings.
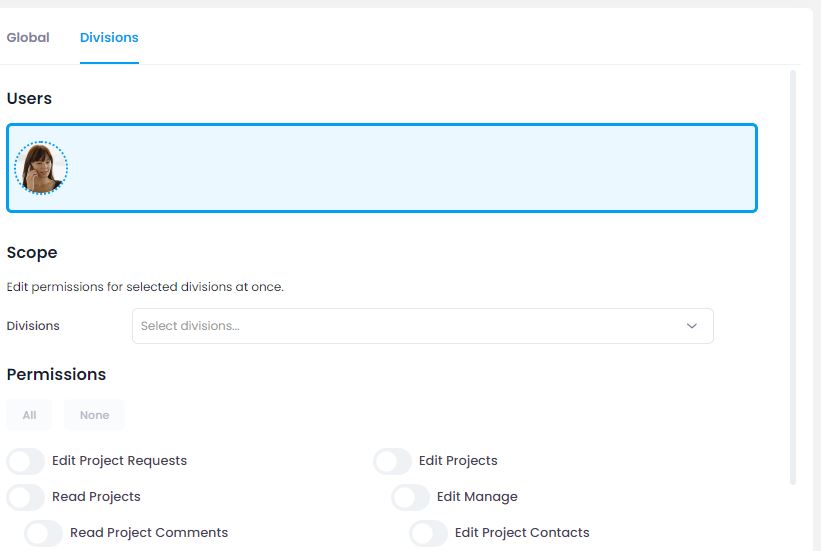
- Click Permissions > Users tab.
- Select a person and set Global permissions.
- Set Divisions permissions for cross-division project access.
- Click Roles tab to define permissions for each project role (Project manager, Team member, Partner, Customer, Other).
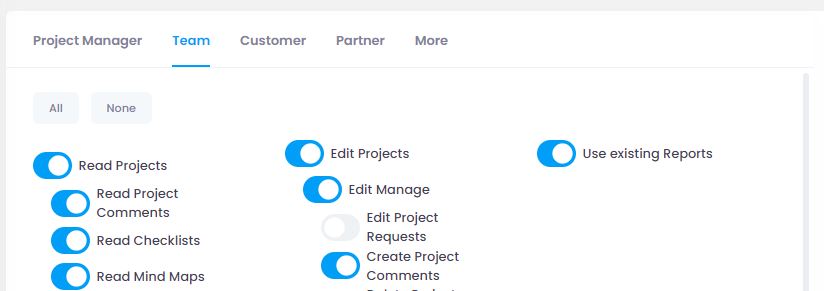
Role permissions are added to user permissions — a person with limited user permissions can gain full editing rights through their project role.
For quality management, deactivate Delete project comments and Delete own project comments to ensure audit integrity.
Set Login Method
Choose how to log in:
- Email address and password (default)
- Microsoft 365 account
- Click your profile picture > My Profile.
- Open the Settings tab.
- Under Login Method, see your current email. Reset password if needed.
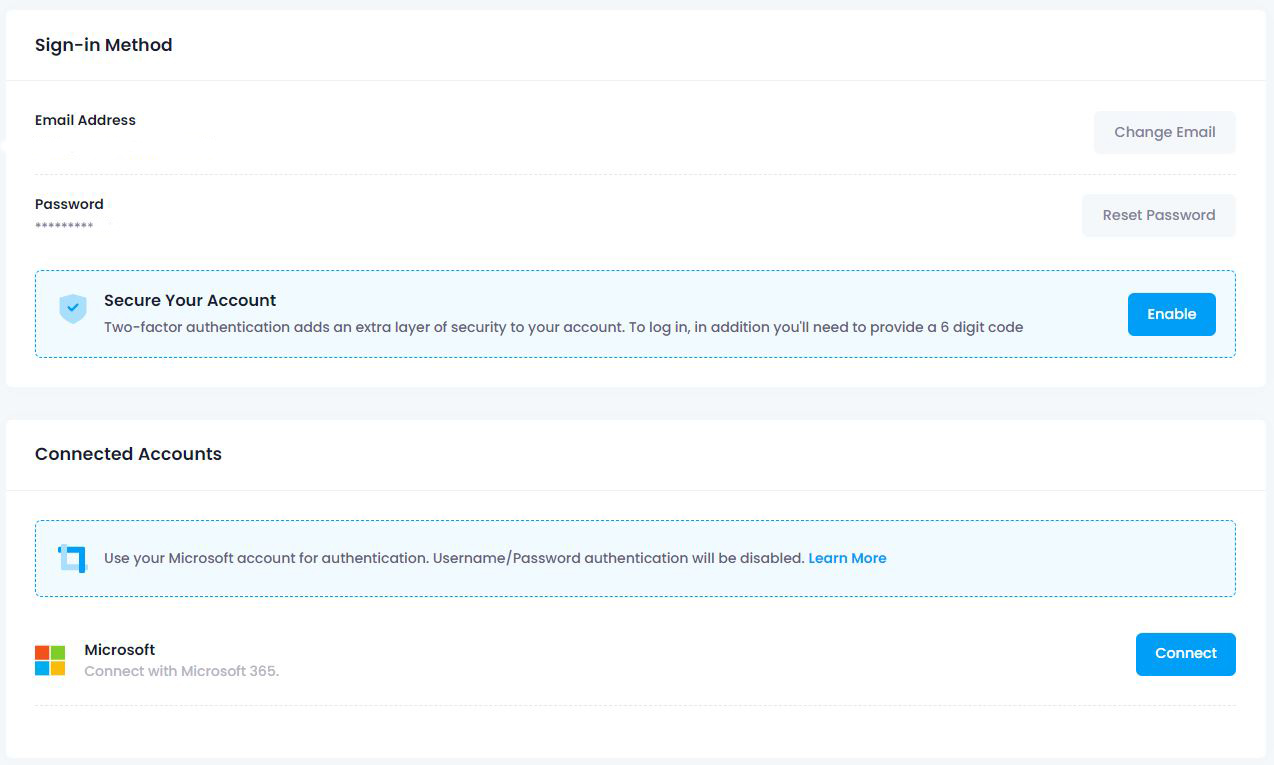
To use Microsoft 365, click Connect under Linked Accounts.
Make sure you are already logged into your Microsoft 365 account in the browser before connecting.